
I did manage to create a python script that read a topology file and create the right links between the VirtualBox vEOS VMs. I thought it would be cool to control that script via a GUI of some sort. You know, like using GNS3 for drag an drop link creation. I downloaded the latest version of GNS3 to test IOS and noticed that it had a new VirtualBox category. Woot!
GNS3 setup for VirtualBox / vEOS
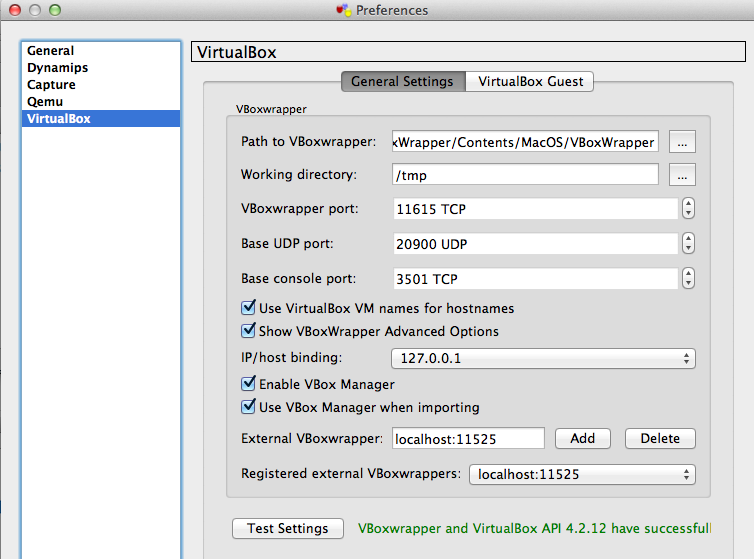
My version is GNS3 0.8.4 for Mac. Kudos to the GNS3 folks, they’ve made the setup really easy. GNS3 had automatically discovered my VirtualBox config, or maybe it guessed the default settings. Either way, I didn’t have to change anything in the ‘General Settings’ tab. I’ve included a snapshot below if you need a reference.
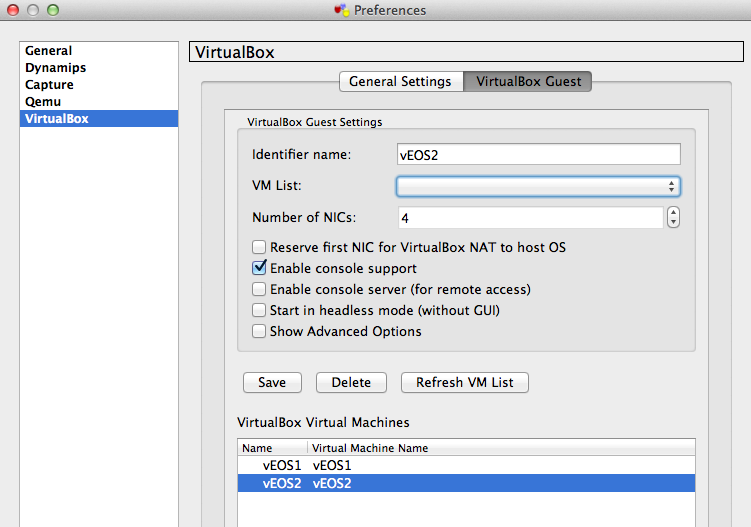
Clicking over to the ‘VirtualBox guest’ tab, you need to decide which of your VMs you want to add to GNS3. The ‘VM list’ is pre-populated with the VMs you see in VirtualBox Manager. If you don’t have any working vEOS VMs yet, you should go back and visit GAD’s tutorial. You get the option to add multiple NICs, but I couldn’t get more that four NICS working. The VirtualBox manager only allows you to configure four NICS, so this makes sense. Hit ‘save’ to add your devices to the list and ‘OK’ to exit your chosen VMs will be available for drag-and-drop goodness.
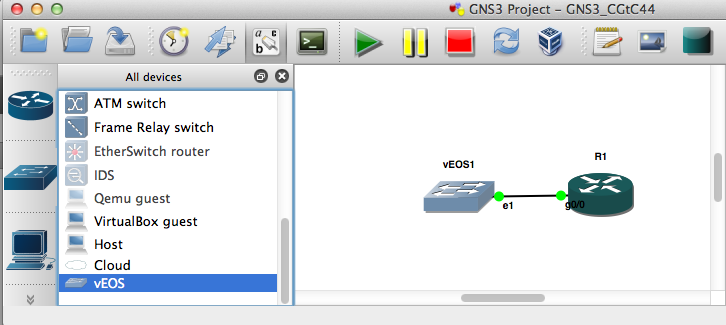
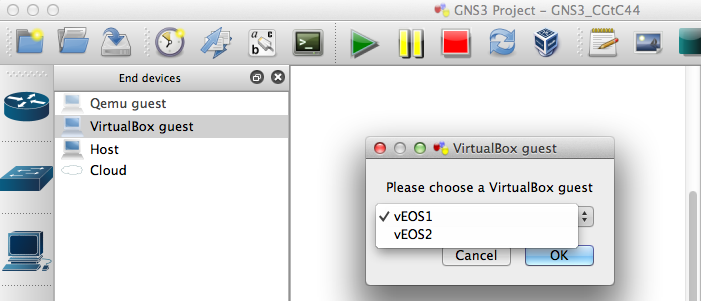
There is now a device type in the ‘End devices’ section called VirtualBox guest. Once you drag and drop onto the canvas, you’ll be presented with your VM list as you’ll see in the screenshot below.
Annoying Icons
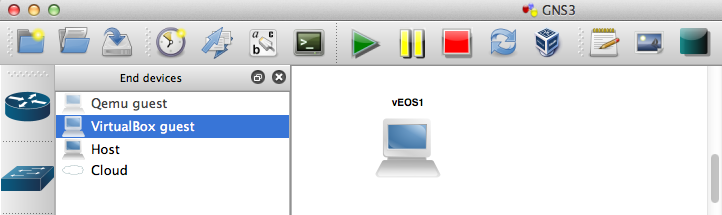
So I know I should have left this alone, but seeing the vEOS device represented as a desktop machine didn’t sit well with me (see image below).
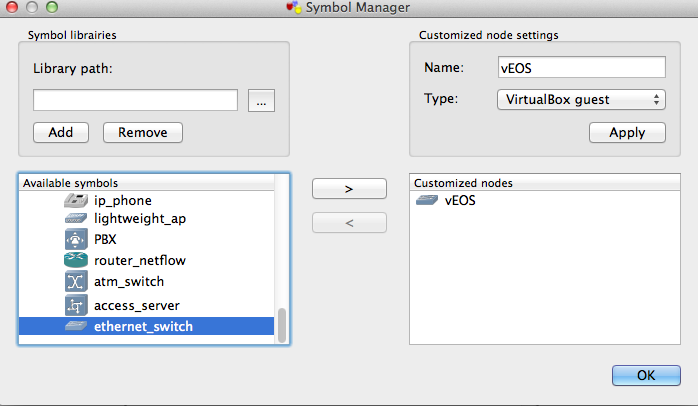
I couldn’t quite manage to get the official Arista purple icons added to the library. I did the best I could using the Symbol Editor, but had to settle for an existing cisco ethernet_switch icon. In the screenshot below you can see that I added a new customised node, and called it vEOS.
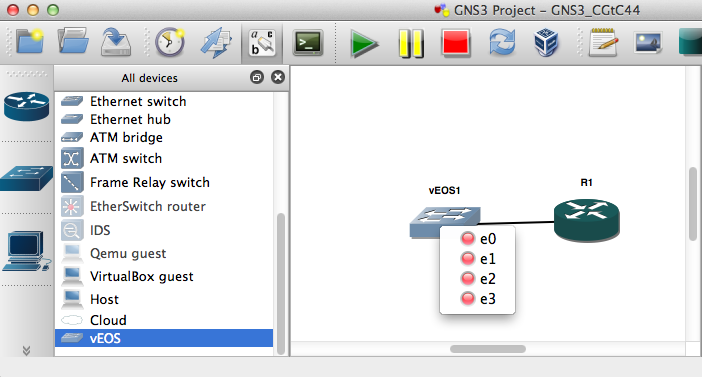
The new vEOS switch icon will now be visible in the ‘browse all devices’ left-hand-side panel. It won’t be visible in the End Devices section for some reason.
Create a topology
Configuration is really no different for anything else in GNS3 just drag on to screen, select your interfaces and drag-and-drop your inter-device links. I’m using a cisco 7200 with a GigE PA for the other end of our link. I normally use the Eth1 interface on vEOS as my first operational link as the Eth0 GNS3/VBox interface corresponds to Mgmt0 on vEOS.
Launch and Test
Press the play button to start both devices. The VirtualBox console for vEOS1 will automatically appear, but you’ll still need to launch the console for the 7200 manually. The 7200 interfaces will be admin shut by default, but the vEOS interfaces will be admin-up. Unfortunately we can’t use CDP to verify the configuration, as vEOS doesn’t support it. The 7200 IOS version I’m running doesn’t support LLDP either. Some quick config with a common subnet and a ping test verifies that the link is up and running.